So you’ve read my guide on how to have an EPIC visit to the Taj Mahal (hint, hint here’s the link) Now it’s time to focus on how to absolutely nail your Insta-Worthy photos at the Taj Mahal. Ill show you the best spots to visit, the best time of day so you can have minimal people in the background and how to make your photos pop.
Before you get to the Taj Mahal
Do some research, which is probably what led you to my blog! But not only for the best locations but also about what clothes and colours will work against the different backdrop. Worth considering is also what poses you want to strike. Instagram is my go-to for this as well as Pinterest (pin this for later reference) This is great to decide beforehand so you are aware of what works and what you want to achieve. Therefore, when you are there you can work your poses, bang, bang, bang and move on to the next location quickly.
Best Time of Day to Visit
If you have read my previous blog, then you will know that I recommend first thing in the morning before the Taj has even opened its gates. I can only speak from personal experience, there may be minimal people later in the afternoon as the sun is setting too, however, I still suspect it’ll be more than in the morning. In saying all that there still will be a lot of people there, so to have no people or minimal people you may need to get creative with your angles and framing, as well as moving to each location I mention quickly. Or you could always edit out in post-production using a wide range of different Apps such as Lightroom, Snap Seed or even Retouch
Taj Mahal Opening Times
This is entirely dependent on when the sun rises. So it is best to check with your hotel reception once you arrive. The ticket gate is opened one hour before sunrise and the entrance to the compound of the Taj 30 minutes before sunrise. The last ticket is sold 45 mins before sunset.
Getting a Guide
I covered off on this in my previous blog post. For solo travellers I strongly recommend you hire a reputable guide, ensuring you discuss your pre-requisite with them. For example, that you require them to be assisting you with your photos, and that you will be tipping them accordingly.
My Best Insta-Worthy Locations for Photos
The best way to do this is to follow a simple pathway around the Taj in a clockwise fashion to the left once you are through the main gateway and to your left.
Location 1
The Main Gateway after you have passed security.
View: The Taj is perfectly framed by the inner archway of the Gateway.
Tip: Aim high above people’s heads. There will be low light inside the gateway, perfect for creating a dramatic image

Location 2
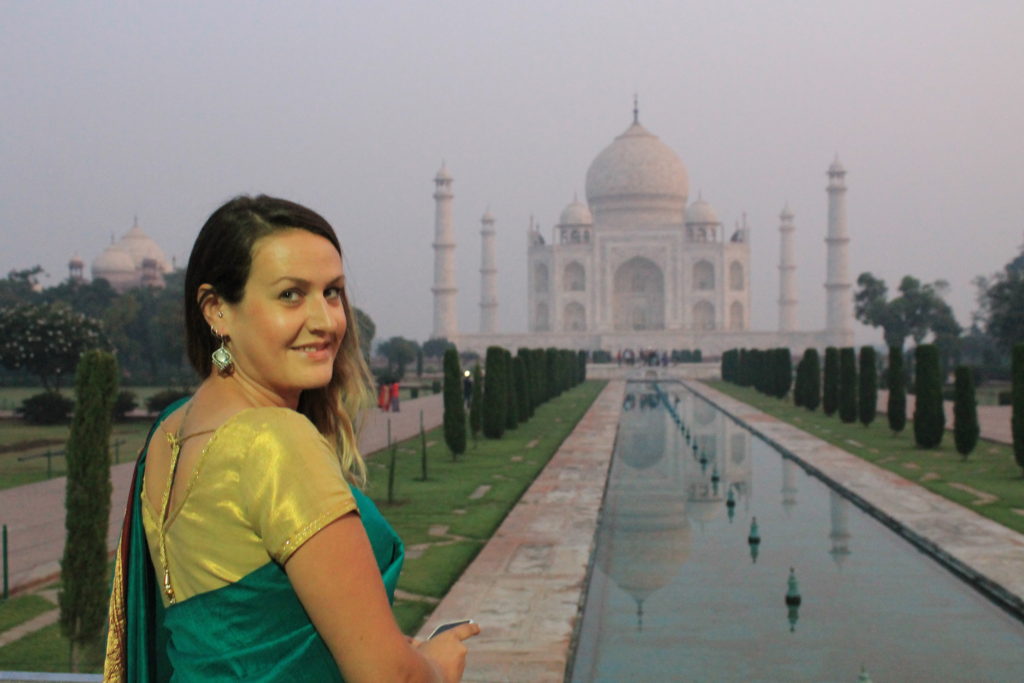
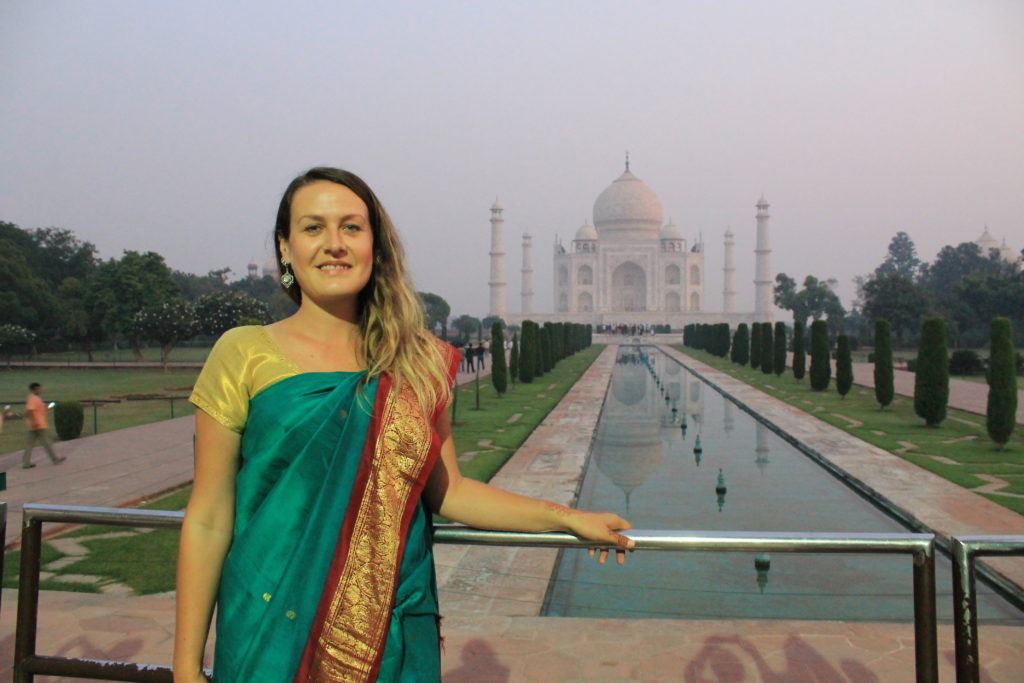
The fencing as you immediately exit the gateway.
View: the compound in full, the Taj Mahal, the waterway leading to the main central water feature.
Tip: there will be a lot of people trying to get the same photo, be patient, allow people to take a few photos then politely ask them to move a little out the way. Take some portrait and landscape shots here, as well as facing forward toward the Taj and toward the camera. Use different angles to exclude people from the framing.
Location 3
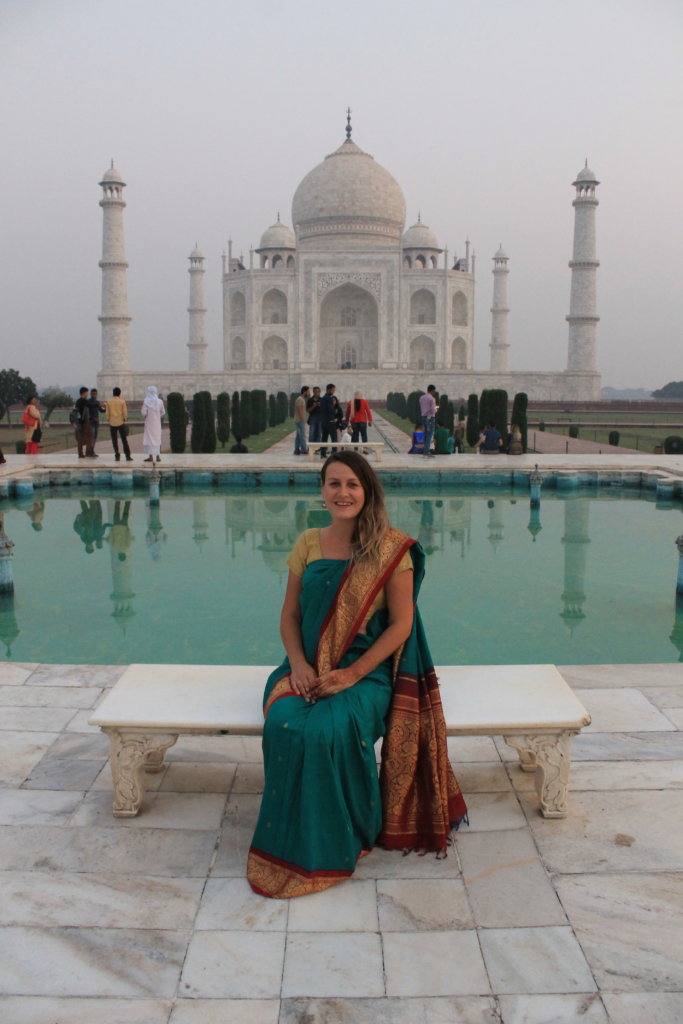
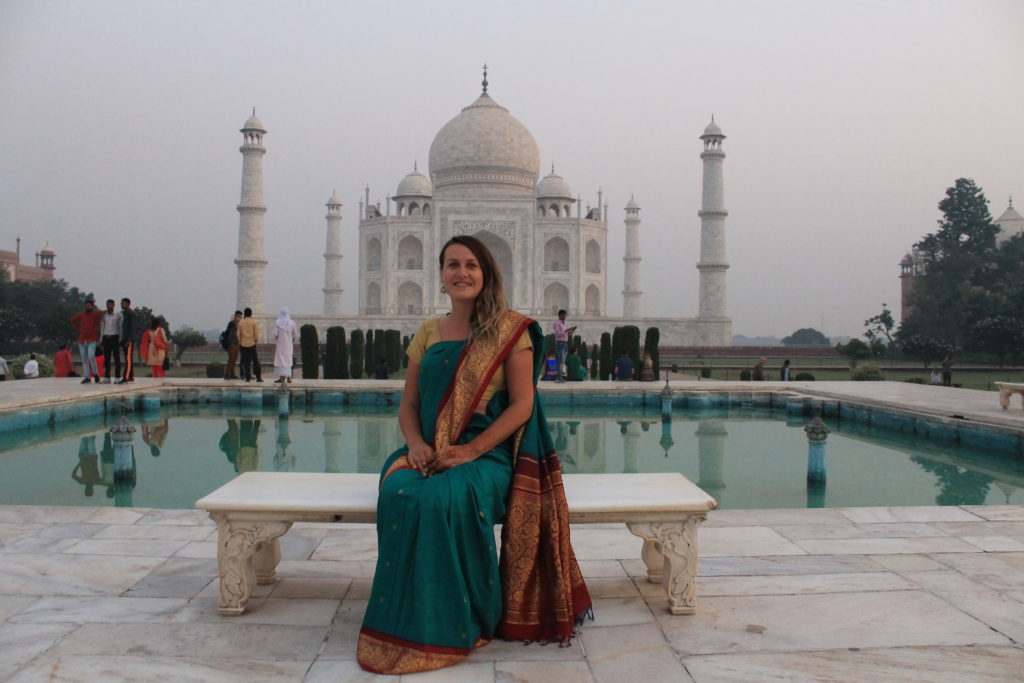
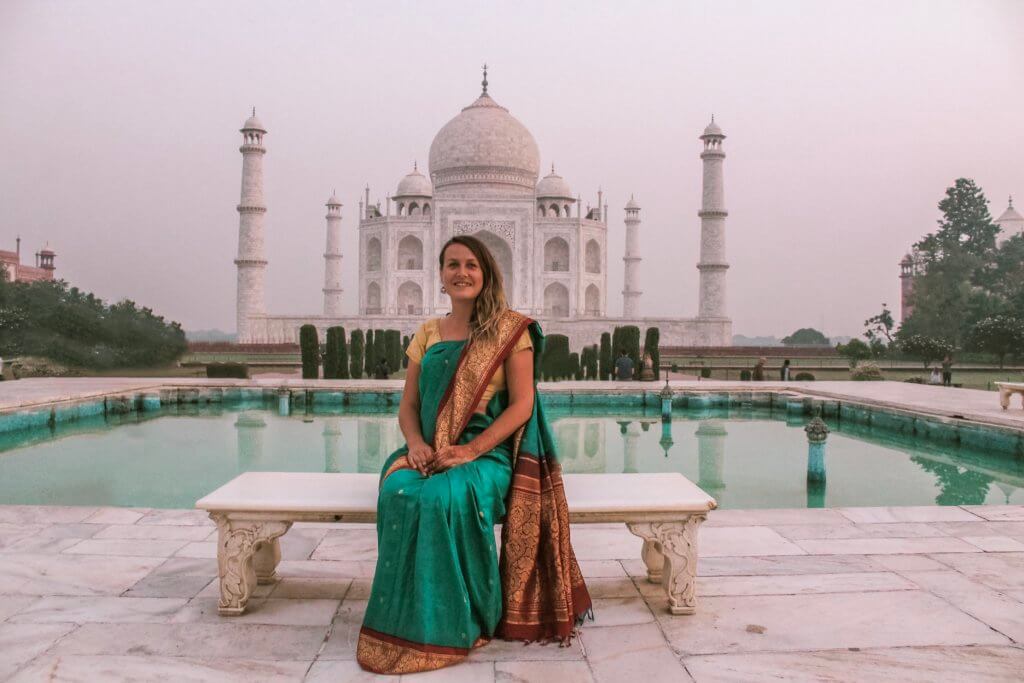
Diana’s Chair is found on top of the central main water feature.
View: depending on what chair you use you will either have the water feature and the Taj, or the water channel leading to the Taj.
Tip: there are actually two seats, one on either side of the water. The chair Diana actually sat on is on the far side, closest to the Taj Mahal.
However, both are used to re-create the iconic Photo’s.
Both seats are very busy and there is definitely social etiquette when taking your photos here. You will have to show some patience even at 6 am as most people will rush to the seats first.
It is acceptable to take 1-2 minutes to get as many shots as you can before people start to get a little “ancy” so know what poses you want to use before it is your turn. Also, if a line does form, do the right thing and join it and wait. EVERYBODY wants this iconic photo!
If you want to eliminate as many people as possible try and get to the ‘official’ chair, as using the front chair you will get the people waiting for the other chair in the background of your photo. You can always edit them out in post-production.
See my before and after shots

Before Editing… 
After..

Location 4
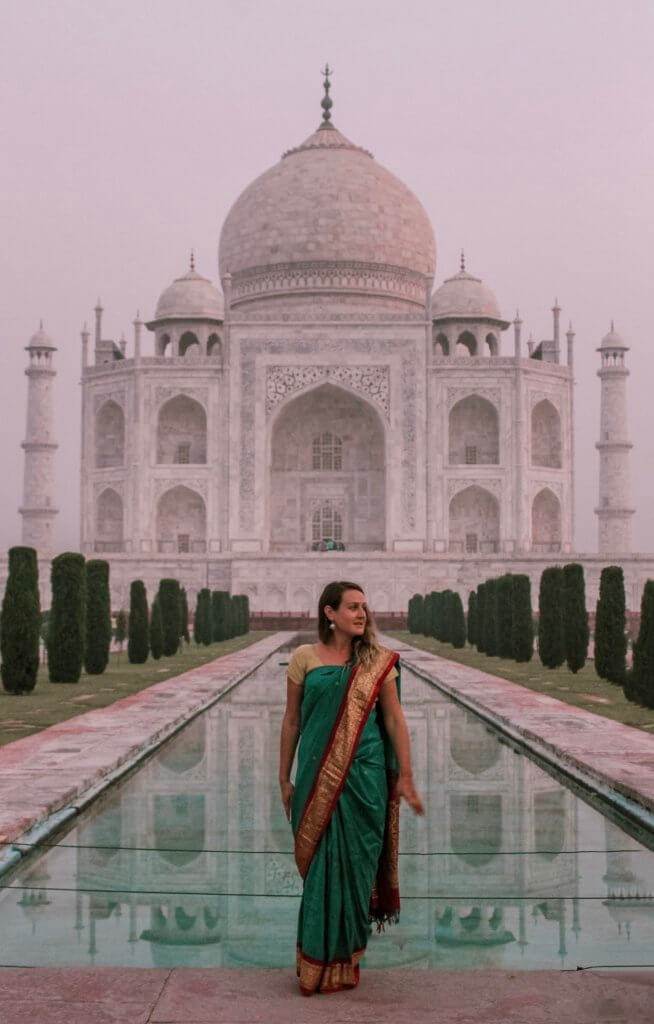
In front of the water channel below “Diana’s” Chair. (walk down the stairs to find it)
View: the water channel leading to the Taj Mahal
Tip: another iconic spot, use patience and politeness when waiting for your turn and when asking people to move out of your frame. Portrait shots work best here to get the entire image in frame from the water channel all the way to the top of the Taj. (you are very close to the building here)
Try and shoot low to high also


Location 5
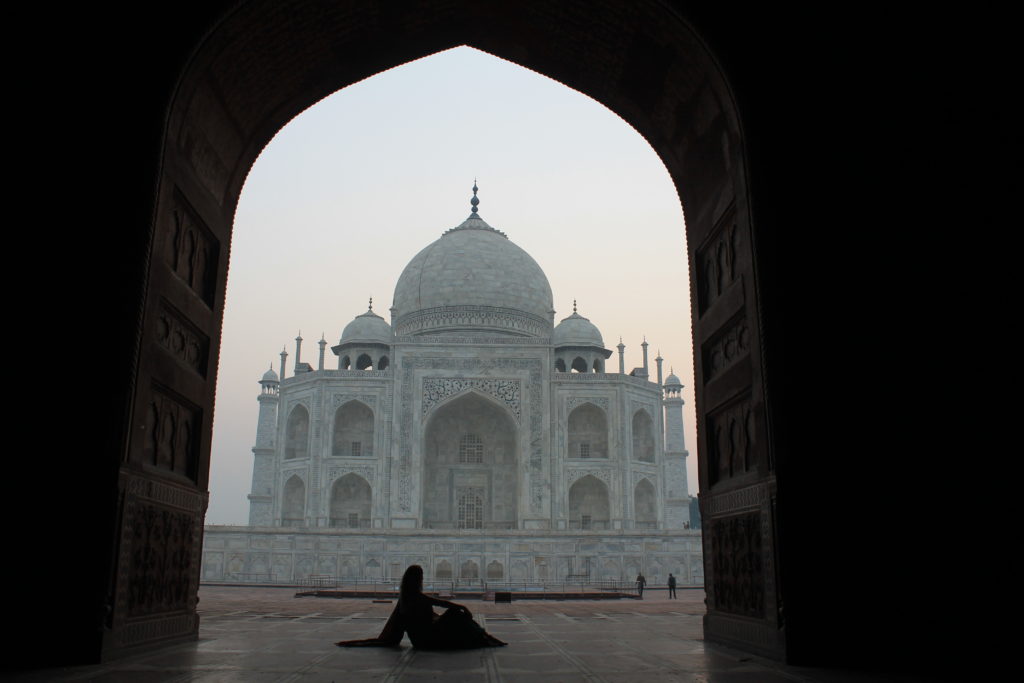
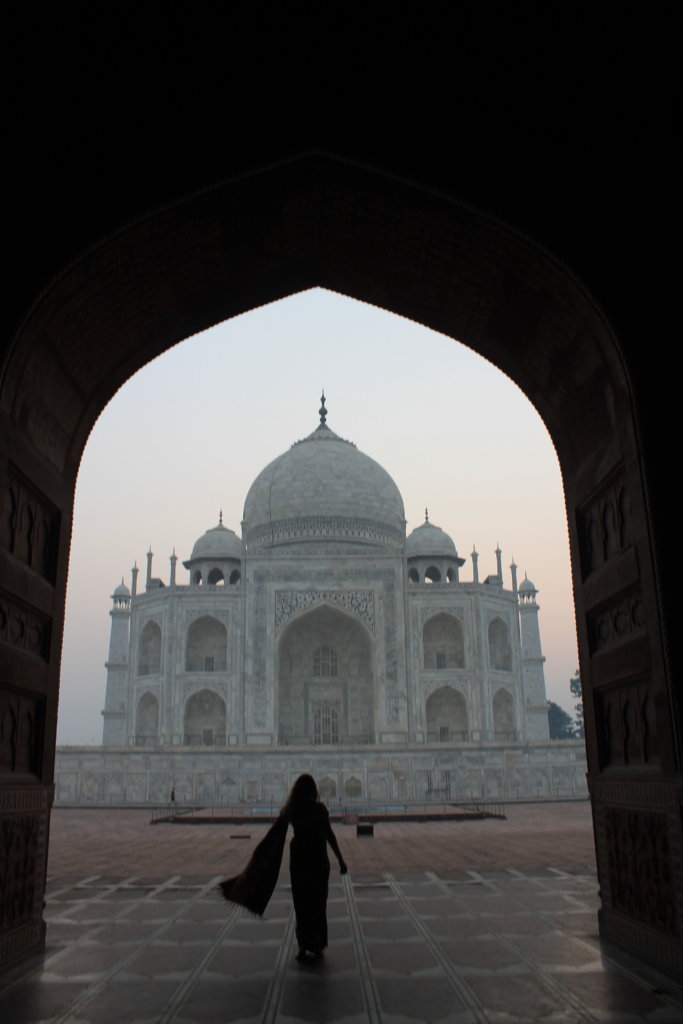
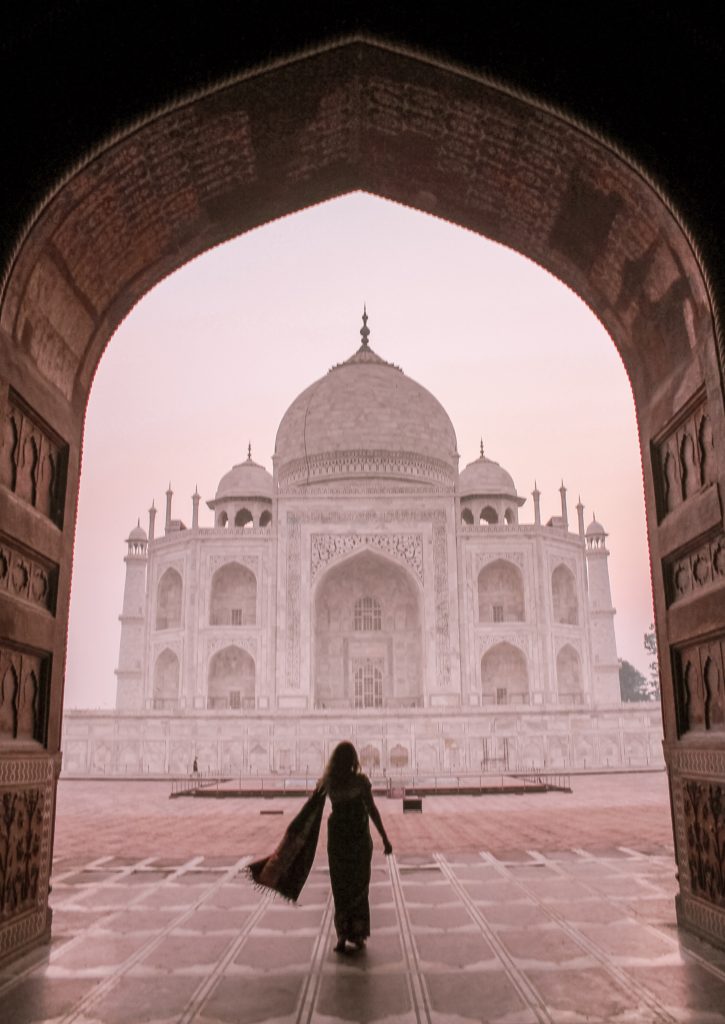
The Mosque to the left of the Taj Mahal
View: here you have beautiful archways to frame your photos of the Taj Mahal. There are exquisite details that you can capture of the archways and the flooring and the Taj is framed perfectly.
Tip: If you pose just inside the archway you will be a beautiful silhouette in your photos or pose a little outside to capture your beautiful outfit. Play around with different poses here. Twirl. Sit down. Jump in the air. Try different angles, low to high, left to right and so on
**Don’t forget to take off your shoes before you walk up to the Mosque**

Before Editing… 
After…


Location 6
The Mosque itself
View: have your photographer outside the Mosque on the lower level, shooting you in the walkway
Tip: you will be able to have a play around here as you will be on different levels. Walk up and down the hallway, sit down, twirl your outfit. Come just outside the Mosque to capture another unique view of the Taj Mahal


Location 7
Around the Taj Mahal
View: as you will be within touching distance you won’t be able to capture the Taj in its entirety but you will be able to capture different details. For example, the calligraphy, the marble carvings and details, the sun splashing against the marble as it rises in the morning, the minarets. Don’t forget to use the river as a backdrop too.
Tip: there are no shoes allowed upstairs at the Taj and definitely no photos inside, so wander around outside and get creative.


Location 8
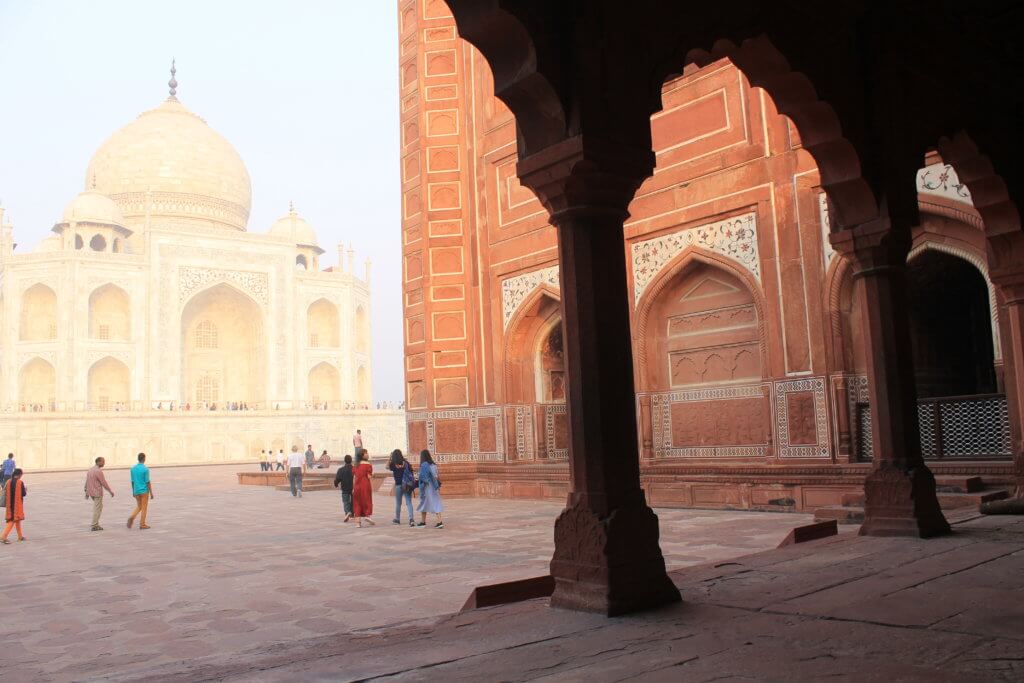
Mehman Khana, the building to the right of the Taj Mahal
View: there are three beautiful archways to frame your photos of the Taj Mahal
Tip: you will find them as you first walk up the stairs. No shoes are allowed up here either, so take them off or use your shoe coverings. Because you will be shooting from inside to out again you will be silhouetted in your photos, so play around with your poses again.


Location 9
The gardens and trees as you leave the stairway from the Mehman Khana
View: looking back toward the Taj Mahal from beautifully manicured gardens
Tip: use the gardens, leaves, trees and flowers as props in the background or foreground for some creative and different photos


Location 10
The water channel to the right of Diana’s Chair
View: the Taj Mahal perfectly reflected in the water channel
Tip: get your photographer to go low and shoot high, face toward the Taj as well as to the camera, play around with your outfit and different poses but be careful there is no barrier to stop you from falling in!
It’s almost unavoidable to get this photo without people in it, but try your best angles and framing or again edit them out in post-production if you really feel you want to


Final Tips
If you go in the morning, you will be shooting in low light until the sun has risen so best to use a DSLR for nice crisp photos
Move quickly to your photo locations
Leave your photo reflection shots till last as you will need the sun in the sky to make the most of this type of photo
Don’t be afraid to guide your guide on how to use your camera. Teach them about setting up the framing and what you want to achieve with your photos and poses. He/She is a guide after all not a professional photographer.
Don’t forget to tip your guide/photographer for being an absolute legend too!
All my photos were taken by Asif Kahn, my amazing guide (and photographer). He has so much information to share with you about the Taj Mahal, he is a pleasure to spend time with and an all-around lovely human being.
Here are his details if you wish to book him for your Taj experience. I cannot recommend him highly enough
You can reach out to Asif via:
WhatsApp: +91-975-896-2131 or +91-976-055-2226 or,
Via his website www.tajgoldentours.com
Pin me and don’t forget to tag me in your Taj Mahal photos using #bornwanderess on Instagram.


3 thoughts on “Nail Your Insta-Worthy Photos At The Taj Mahal”